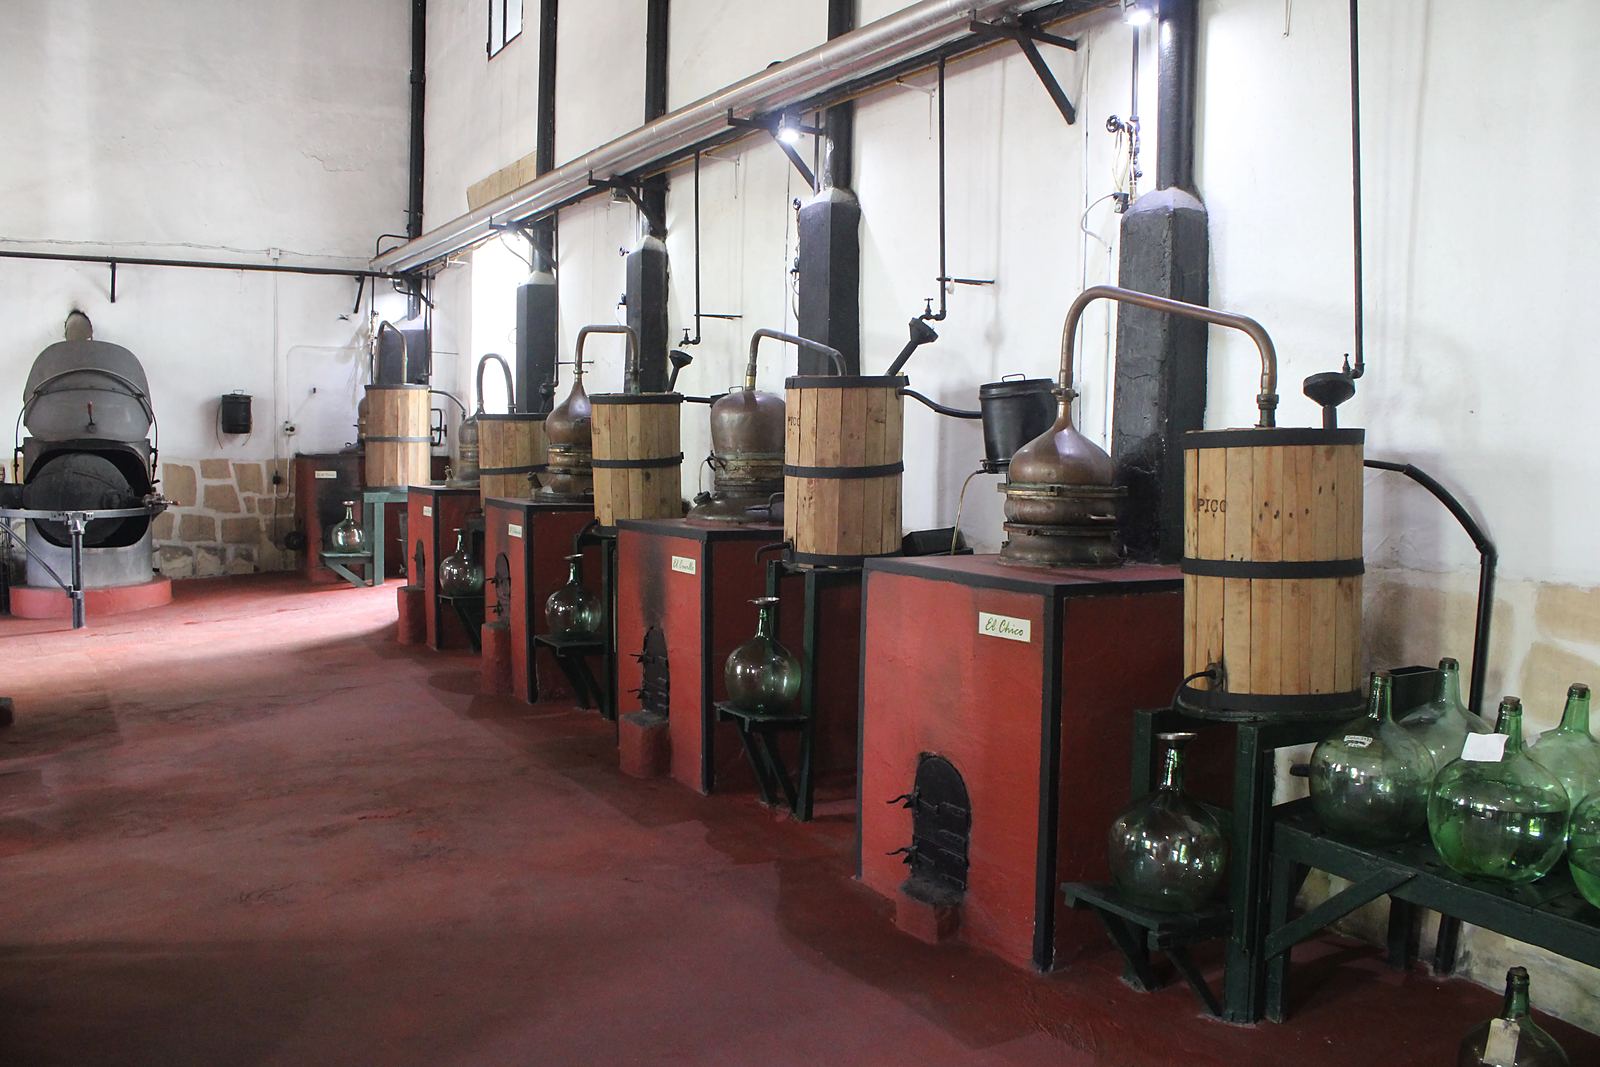
Building a Pot Still
A pot still is one of the most satisfying things a home distiller can build: a boiler, a riser, a lyne arm, and a condenser, assembled from plumbing copper and a converted keg with tools you probably already own. It is also a machine that will hold boiling flammable liquid, so every joint, seal, and design choice in this guide is made with safety first. Build it slowly, test it with water before it ever sees a wash, and clean it properly before it makes anything you intend to drink.
Before you pick up a tool
Materials, in brief. Copper and stainless steel are the only metals for a still: copper for the vapour path, where it strips sulfur compounds from the vapour, and stainless for the boiler, where strength matters most. Lead solder, galvanised steel, aluminium, and plastic, rubber, or silicone anywhere vapour or hot spirit passes are all forbidden — hot ethanol vapour dissolves the wrong materials and carries the result into your drink. Our equipment guide explains the reasoning in full; read it before you buy a single fitting.
Pressure is the hazard that kills. A still that is sealed, even partly, turns dangerous fast: boiling wash generates pressure, and a pressurised boiler full of boiling alcohol can rupture violently. That is why this design has no valve between boiler and condenser outlet, why the outlet always drips into an open vessel, and why you must check the vapour path is clear before every run. Watch for the danger signs: a still that hisses, swells, jets vapour from a joint, or goes quiet while the boiler keeps boiling is building pressure. Cut the heat at once, move away, and leave it alone until it is cold — never open or adjust a hot, pressurised still.
Skills you need. This build assumes you can cut copper pipe square, solder a watertight joint, and use an angle grinder safely. If you have never soldered copper, practise on scrap fittings first — a still is not the place to learn. Heating is covered in the equipment guide: an electric immersion element with a controller is the usual choice, and any mains-voltage wiring should be done or checked by a qualified electrician.
Parts list
These are the parts for the classic home build: a keg boiler with a 2-inch copper head and a Liebig condenser. Sizes are the standard ones used across the home distilling community.
| Part | Specification | Notes |
|---|---|---|
| Boiler | 15.5-gallon (58 L) Sankey beer keg, or a 30–50 L stainless stockpot | Keg must be legally obtained — ask a brewery for a decommissioned one |
| Riser | 2-inch copper pipe, 18–24 inches long | Taller gives slightly more separation |
| Elbows | Two 2-inch copper 90° elbows, or 45° elbows | Fewer bends, fewer places for liquid to pool |
| Lyne arm | 2-inch copper pipe, 12–18 inches | Slopes gently down toward the condenser |
| Reducers | 2-inch to 1-inch, then 1-inch to ½-inch | Steps the vapour path down to condenser size |
| Liebig condenser | ½-inch inner tube inside a ¾-inch jacket, 24–36 inches long | Two ¾" × ½" × ½" reducing tees for the water connections |
| Boiler connection | 2-inch tri-clamp ferrule, clamp, and gasket | Fits the keg opening or a stockpot lid |
| Thermometer port | ½-inch compression fitting in the riser | About 2 inches below the lyne arm |
| Solder and flux | Lead-free plumbing solder (95/5 or silver-bearing) and lead-free flux | Never lead solder |
| Water fittings | Hose barbs and garden hose for condenser water | In at the low end, out at the high end |
| Tools | Tube cutter, deburring tool, propane or MAPP torch, files, sandpaper, bending spring or dry sand, angle grinder, drill | — |
The boiler: keg or stockpot
The converted beer keg is the home builder's favourite boiler, and with good cause: a 15.5-gallon keg holds a comfortable 10-gallon wash with headroom to spare. Start with a legally obtained, decommissioned keg — breweries sell off damaged or retired kegs, and a keg that still belongs to a brewery is not yours to cut up. Before you touch it, make sure it is fully depressurised: press the valve stem and confirm nothing hisses out.
There are two ways to open a keg. The simpler route keeps the existing 2-inch Sankey opening: remove the valve assembly and fit a 2-inch tri-clamp ferrule to the opening. The more ambitious route cuts a 10–12-inch opening in the top with an angle grinder, then fits a stainless lid with a 2-inch ferrule in its centre. Whichever route you take, file every cut edge smooth — you will be reaching into this vessel to clean it.
A stockpot boiler suits smaller batches or builders without a grinder. A heavy stainless stockpot of 30 to 50 litres works well, but the lid needs work: cut a hole for the 2-inch ferrule and clamp the lid down firmly with toggle clamps, since a loose lid will leak vapour. Whatever vessel you choose, the opening must be large enough to clean inside it properly.
Cutting and bending copper
Cut copper pipe with a tube cutter, not a hacksaw: a square cut with a clean edge is what makes a soldered joint seal. Deburr every cut inside and out, and dry-fit every joint before soldering — an assembly that does not sit right dry will not improve once soldered.
Copper comes in two tempers, and the difference matters for bending. Soft (annealed) copper tubing bends readily by hand around a form; hard-drawn (rigid) copper does not, and forcing it will kink it. If you must bend hard-drawn tube, anneal the section first: heat it until it shows a dull cherry-red glow (roughly 700–1200°F), then let it cool or quench it in water. Keep the centreline radius of any bend to at least 2 to 2.5 times the pipe's outside diameter — tighter than that, and the inner wall will buckle.
The classic way to bend copper without kinking it is to pack the tube with fine, dry sand: plug one end, pour the sand in while tapping the tube to settle it, plug the other end, then bend slowly around a round form such as a bucket. The packed sand holds the bore round while the wall moves. A bending spring — a coiled spring that slides inside or over the tube — does the same job and is reusable. Where a bend is awkward, use an elbow fitting instead: a soldered elbow beats a kinked bend every time.
Soldering: lead-free only
Every soldered joint in a still must use lead-free solder. Lead finds its way into distillate, and lead poisoning is cumulative and serious. The standard lead-free plumbing solders are 95/5 tin-antimony (melting range 450–464°F), 97/3 tin-copper (440–572°F), and silver-bearing solders (around 420–460°F, with a wider working range that beginners find forgiving). All three are rated for potable water systems, where the Safe Drinking Water Act limits lead in solder and flux to 0.2%.
The technique is straightforward plumbing work. Clean both mating surfaces to bright metal, apply a thin coat of flux, and assemble the joint. Heat the fitting — not the solder — until the flux bubbles and the copper melts solder on contact, then touch the solder to the joint and let capillary action draw it in; a neat ring around the whole joint means you are done. Do not overheat: scorched flux leaves a weak, porous joint. Wipe each joint with a damp rag while it is still warm to remove flux residue, which is corrosive if left in place.
Joining copper to stainless needs silver solder and the right flux, and it is fiddly work. Many builders avoid it with tri-clamp joints: a stainless ferrule on the boiler, a copper ferrule on the riser, and a clamp and gasket between them.
Assembling the head and condenser
Assemble the still in this order, dry-fitting everything before any solder flows:
- Riser to boiler. Clamp the 2-inch copper riser to the boiler's tri-clamp ferrule, standing vertical; if it leans, the lyne arm and condenser will not sit right.
- Thermometer port. Fit the ½-inch compression fitting into the riser, about 2 inches below the lyne arm, so the probe sits in the vapour stream.
- Lyne arm. From the top of the riser, an elbow turns the vapour path toward the condenser. The lyne arm slopes gently downward — vapour should never have to climb, and condensed liquid should run on rather than pool.
- Reducers. Step the 2-inch path down to the ½-inch condenser tube, keeping the transitions smooth; abrupt steps collect liquid.
- Liebig condenser. The condenser is a ½-inch inner tube inside a ¾-inch outer jacket, 24 to 36 inches long. Reducing tees at each end join the jacket to the inner tube and provide the water connections: cooling water enters at the low end and leaves at the high end, so the coldest water meets the coolest vapour. The inner tube passes straight through both tees, with its lower end open to the air.
- Collection. The condenser outlet drips into an open jar below it, and must never be capped, submerged, or connected to a sealed container — it is the still's open path to the atmosphere.
Keep the vapour path as short and straight as you can, sloping downhill wherever possible. Every bend is a spot where liquid can collect, and every joint is a potential leak — so use as few joints as possible, each soldered, welded, or clamped with a proper gasket.
Sealing joints with flour paste
Where two parts of a still simply slip together — the traditional alembic-style joint between a head and a boiler, for example — the seal is made with flour paste, a method distillers have used for centuries. Rye flour is the traditional choice because it is unusually sticky. Mix about ¾ cup of rye flour with ⅓ cup of warm water into a thick, tacky paste and roll it into a rope. Wait until the boiler is warm — around 115°F — then press the rope around the joint and smooth it down with wet fingers. As the still heats, the paste bakes on and forms a tight seal. Keep some paste in reserve in case a vapour leak appears mid-run. To break the seal afterwards, rock the joint gently until the baked paste cracks free.
Flour paste is for slip joints only. Tri-clamp joints use a gasket — PTFE is the usual choice for the vapour path — and soldered joints need no seal at all. Never seal a joint with silicone or tape. The cleaning guide covers gaskets and seals in more detail.
Leak-testing with water
Before the still ever sees alcohol, test it with water. Fill the boiler about three-quarters full, assemble the still, and bring the water to a boil with the condenser water off, so steam blows out of the condenser outlet. Let the steam run for 15 to 20 minutes at full heat, then turn the condenser water on and let the still run for about an hour — your chance to find every leak while the only thing escaping is steam.
Check every joint, seal, and fitting while the still is hot. A small mirror held near a joint will fog if vapour is escaping. A leak at a soldered joint means re-soldering; a leak at a flour-paste seal means more paste; a leak at a tri-clamp joint usually means a gasket that is not seated squarely. Do not run a still with a known vapour leak: escaping ethanol vapour is a fire hazard. Fix every leak, then test again.
Cleaning runs before first spirit
A new build is not ready to make drinkable spirit. Soldering leaves flux residue, and new copper carries oxides and manufacturing oils. The standard routine is three cleaning runs in sequence: a water run, a vinegar run (half vinegar, half water), and a sacrificial alcohol run using a cheap sugar wash. The output of every cleaning run is discarded — the sacrificial alcohol run included, with no exceptions. Different residues dissolve in water, in acid, and in alcohol, so all three runs are necessary.
The full procedure is in our cleaning and maintenance guide. Follow it exactly. A still that has not been through its cleaning runs is not clean, however shiny it looks.
Sources
- Still Brewin', “How to Build a Still” — keg conversion, 2-inch riser 18–24 inches, lyne arm 12–18 inches, thermometer port placement. stillbrewin.com
- Home Distiller forum, “Liebig Condenser Length” — 24–36 inches of ½-inch tube inside a ¾-inch jacket as the common home-build range. homedistiller.org
- Home Distiller forum, “distilling on a budget” — Liebig construction with reducing tees. homedistiller.org
- Oatey, “What Are the Different Types of Solder?” — 95/5 tin-antimony (450–464°F), 97/3 tin-copper (440–572°F), silver-bearing solder (420–460°F), Safe Drinking Water Act lead limits. oatey.ca
- EngineerFix, “How to Bend Copper Pipe Without a Bender” — anneal hard-drawn copper at 700–1200°F, bend radius at least 2–2.5 times the outside diameter, sand packing for internal support. engineerfix.com
- Clawhammer Supply, “How To Make Flour Paste For Distilling” — ¾ cup rye flour with ⅓ cup water, apply once the boiler reaches 115°F. clawhammersupply.com
- Home Distiller forum, “Cleaning your new still correctly” — water run, half-and-half vinegar run, sacrificial alcohol run discarded with no exceptions. homedistiller.org
- Learn to Moonshine, “How To Clean A Homemade Copper Still” — mirror test for leaks at soldered joints and seals. learntomoonshine.com
- HomeDistiller, “New Distiller's FAQ” (wiki) — the hobby's standard reference: copper and stainless as the accepted metals, lead-free solder, no plastics in the vapour path. homedistiller.org