How to Make a Yeast Starter
A yeast starter is a small batch of wort made for one purpose: growing yeast. You pitch your yeast into it a day or two before brew day, let the colony multiply, and then pitch a large, healthy, already-active population into your wash. The result is a faster start, a cleaner ferment, and fewer stuck fermentations.
Why make a starter?
When yeast is pitched into a wash, it first spends hours or days in a growth phase, multiplying before it gets down to the serious work of fermentation. A small or tired pitch means a long lag phase — and a long lag phase is an open invitation to bacteria and wild yeast, which are happy to move into an unfermented wash. Under-pitching also stresses the yeast, which can lead to off-flavours and a ferment that stalls before finishing.
A starter fixes this by doing the growth phase in advance, in a small, controlled volume. By the time the yeast meets your wash, it is numerous, active, and ready to ferment immediately. A single liquid yeast pack can grow from roughly 100 billion cells to several times that number in a 1–2 litre starter.
When a starter is worth it — and when it isn't
A starter is most valuable when:
- You are using liquid yeast, which typically contains fewer cells per pack than dry yeast.
- The wash is high gravity (a lot of sugar), so the yeast faces a harder job from the start.
- The yeast is old or has been stored warm, so viability is uncertain.
- You are restarting a stuck fermentation and need a vigorous, acclimatised culture.
- You want to check the yeast is alive before committing a full batch of ingredients.
A starter is less necessary for a standard dry distiller's or turbo yeast pitched into a normal-strength sugar wash — those packs are cheap, heavily dosed, and designed to be pitched directly. For those, simply following the packet instructions (including rehydration, if the packet recommends it) is usually enough.
What you need
For a 1-litre starter:
- 100 g of light dry malt extract (DME) — 1 g of DME per 10 mL of water. This gives a starter wort of about 1.036–1.040 specific gravity, a comfortable strength for yeast growth.
- 1 litre of water — filtered or distilled is best; chlorine in tap water can stress yeast.
- A saucepan (at least 1.5 litres, to avoid boil-over) and a lid.
- A clean vessel — an Erlenmeyer flask is ideal because you can boil, cool, and ferment in the same container, but a sanitised glass jar, growler, or large mason jar works too. It needs headspace above the wort for foam.
- Aluminium foil to cover the vessel loosely.
- Sanitiser for the vessel, funnel, and anything else that touches the wort after boiling.
- Ice for a cold-water bath to cool the wort quickly.
- Optional: a stir plate with a stir bar, which keeps the yeast in suspension and can roughly double cell growth.
Step-by-step method
Make the starter at least 24 hours before you need the yeast — 24 to 48 hours is ideal.
- Mix. Dissolve 100 g of DME in 1 litre of water in the saucepan, stirring well.
- Boil. Bring to a boil and hold it for 10–15 minutes to sanitise the wort. Keep the lid partly on and watch for boil-over — DME wort foams enthusiastically.
- Cool. Put the lid on and set the saucepan in a sink of ice water. Cool to about 20 °C (68 °F) or below — cool to the touch. Never pitch yeast into warm wort; heat kills it.
- Transfer. Pour the cooled wort into your sanitised vessel, using a sanitised funnel if needed.
- Pitch. Add the yeast. If using a Wyeast smack pack, activate it a few hours beforehand by breaking the inner nutrient pouch. Swirl gently to mix and aerate.
- Cover loosely. Cover the top with sanitised aluminium foil — not an airtight lid. The yeast needs oxygen during its growth phase, and a loose foil cap keeps dust and insects out while letting CO2 escape.
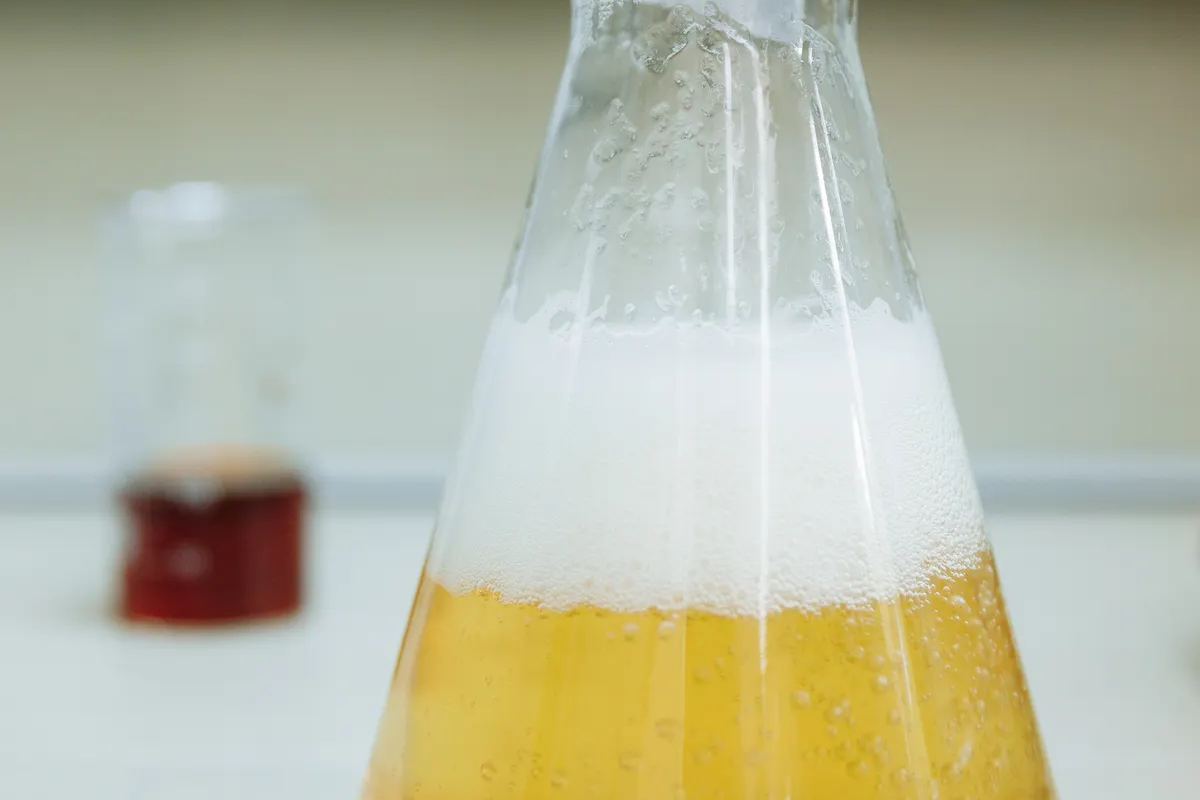
- Wait 24–48 hours at about 18–22 °C (65–72 °F). You should see bubbling and a krausen (foam) within 4–12 hours, then a layer of creamy yeast settling at the bottom as activity finishes. Swirl the vessel occasionally to keep the yeast in suspension; on a stir plate, a gentle vortex is ideal.
Pitching the starter
You have two options:
- Pitch it all. Swirl the starter to suspend the yeast and pour the whole thing — liquid and yeast — into your wash. Simple, and fine for distilling washes, where a litre of weak starter wort will not noticeably change the flavour of a 20–25 L batch.
- Decant first. Put the finished starter in the fridge for 12–24 hours so the yeast settles into a compact layer, then pour off most of the clear liquid and pitch only the yeast slurry. This keeps oxidised starter beer out of your wash and is the preferred method for beer and wine.
For very high-gravity washes, you can build a step starter: once the first starter has finished, add another batch of fresh, cooled starter wort to the same vessel and give it another 24 hours. Each step multiplies the cell count further.
Tips and troubleshooting
- No activity after 12 hours? Check the temperature — too cold and the yeast barely moves; too warm (above about 30 °C) and it may be stressed or dead. Give it another 12 hours before worrying.
- Keep the gravity low. Starter wort should be around 1.036–1.040 SG. A strong starter wort stresses the yeast you are trying to grow — the opposite of the point.
- Sanitation matters more than usual. A starter is a perfect growth medium for bacteria too. Sanitise everything that touches the wort after the boil.
- Don't seal it airtight. A sealed starter builds pressure and starves the yeast of the oxygen it needs to multiply.
- Use it fresh. A starter is at its best within a day or two of finishing. If you must wait, refrigerate it and let it warm back to room temperature before pitching.
Sources
- Craft Beer & Brewing, “How to Make a Yeast Starter” — 1 g DME per 10 mL; boil 10 minutes; make at least 24 hours ahead; 65–70 °F. beerandbrewing.com
- Brew Your Own, “Making a Yeast Starter” — starter wort around 1.048 SG; DME yields 45 gravity points per pound per gallon; cell-count targets. byo.com
- Toronto Brewing, “How to Make a Yeast Starter” — boil 10–15 minutes; ferment 24–48 hours; cold crash and decant option. torontobrewing.ca
- BrewProf, “How to Make a Yeast Starter (and Why It Matters)” — 100 g DME per litre (1.036 gravity); starter sizes by OG; step starters for high gravity. brewprof.com